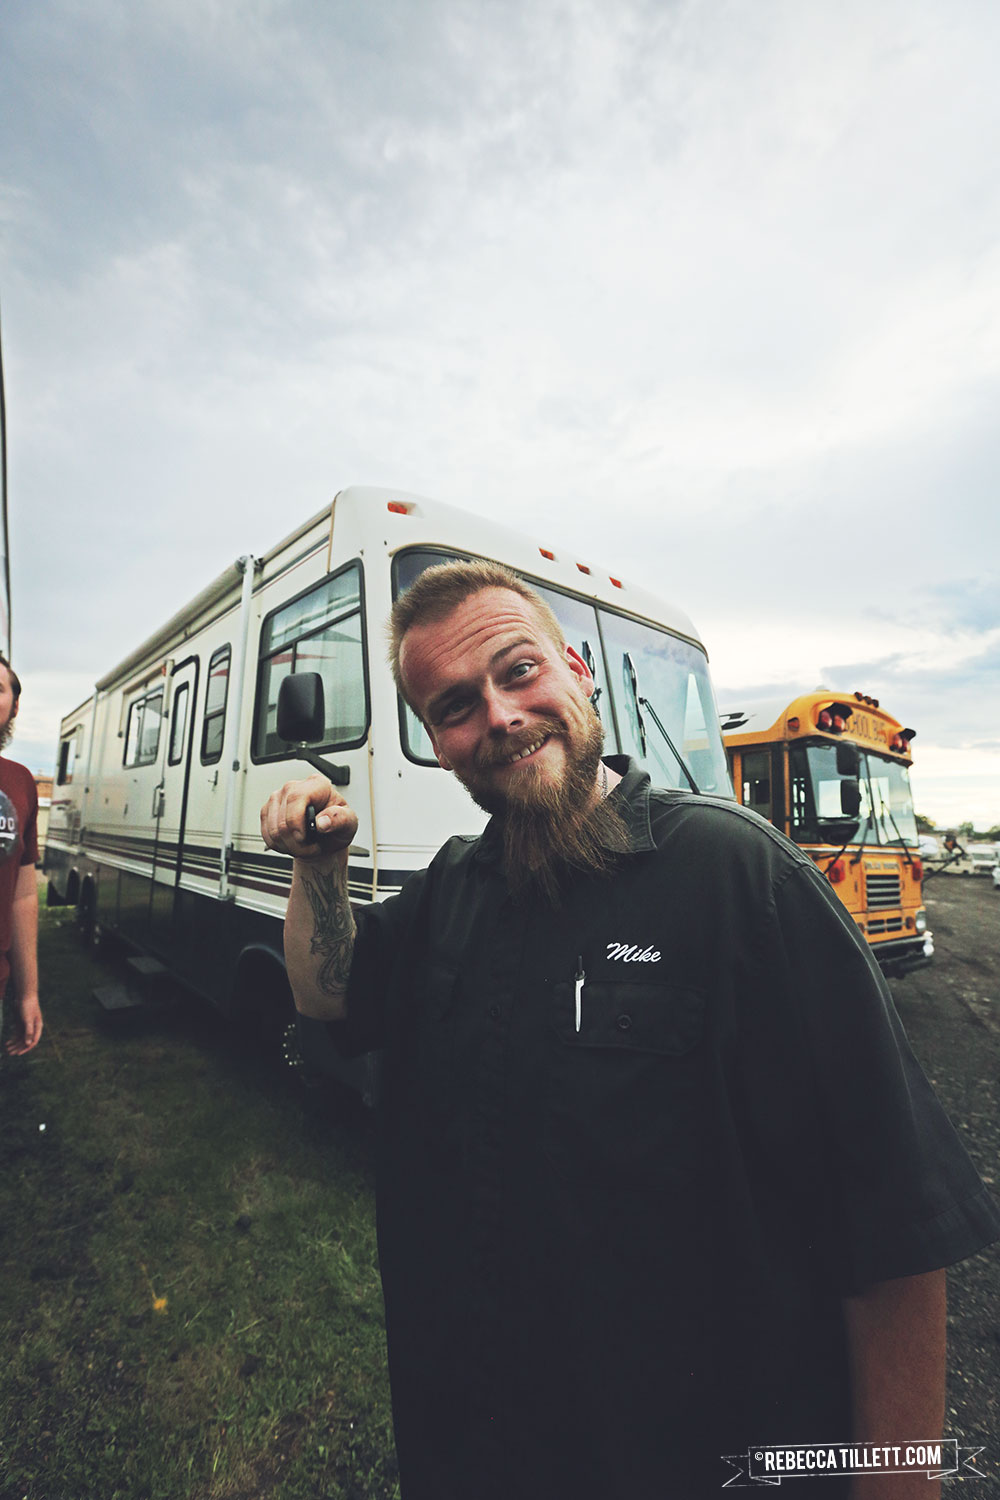
Oh, Serenica. About 2.5 weeks ago, Mike and I flew out his cousin Steven and his girlfriend, Chelseigh from Atlanta, GA to help us with our renovation, and that was quite possibly the smartest thing we've ever done, ever. The plan was that they'd arrive Wednesday, May 25th, spend the rest of that week and the weekend doing their own thing and then we'd all start work on Serenica that Monday, May 30th (Mike and I took the week off from work). We'd naively assumed we'd be done with most of what we wanted to accomplish by Friday and then for Saturday, June 4th, I'd booked us a room in Glenwood Springs, CO near some hot springs so we could spend the weekend relaxing and unwinding after a long week of hard labor. Well, by Thursday it became abundantly clear that some hiccups in the reno process had set us back and we all begrudgingly decided to cancel the room and work through the weekend. By Sunday night, we still hadn't quite finished all that we wanted to during their stay and unfortunately, Mike and I had to return to work on Monday. We encouraged C&S to spend their last 3 days in Colorado doing whatever they wanted to and most normal houseguests (familial or not) would excitedly do so. However, C&S are not normal houseguests. They're incredibly kind and amazing human beings who continued working on Serenica after Mike and I had to return to work, in spite of my pleas that they relax and enjoy themselves. I'm not sure I've ever been so blindsided by such generosity. Steven continued to work his ass off to get our floors and woodburning stove done and Chelseigh, well...I'm not even sure how I live without that girl. She took such good care of all of us throughout the entire process, always packing our lunches and filling a cooler with food and drinks, keeping our condo clean, organizing our tupperware cabinet, buying us a few new pots and pans (ours are scratched to hell), planting catnip and grass in a planter on our balcony for our kitties to enjoy, organizing our tools at the RV, scrubbing the RV bathroom tile until it sparkled, and she and Steven cooked for us on numerous occasions. She was our den mother and without her, it would have been a much more tedious, disorganized process. They worked for nearly 9 days straight on Serenica to help us get as much done with it as possible before their departure and I feel so absolutely grateful and fortunate to be a part of such a giving and selfless family. I hope someday soon, we can live much closer (and I'm hoping that by next summer, we can return the favor by helping them with their own tiny home)!
So before I break down into elated and grateful tears, let's move along... (as always, click any image to see it much larger!)
The process actually began with a hiccup when we attempted to add a coating of polyurethane to our newly stained lower kitchen cabinet doors and it immediately appeared that the polyurethane was stripping the stain. Below, you can see what the cabinet doors looked like pre-polyurethane and in the next few shots, you can see what had happened after adding the coat of poly. We were flabbergasted. Regardless, we decided to just leave them alone for a while to see if further drying would rectify anything. By the next day, the doors still looked terrible so we accepted we'd likely need to re-sand and re-stain all of them. We had gotten though sanding one door when we checked the others and it seemed like the sun was helping to rid them of that horrific effect the polyurethane had created. They were still drying apparently, but it seemed to be taking forever. Fortunately, we'd only gotten though re-sanding one door when we realized this, otherwise we would have had to do them all over again. Crisis averted, but seriously....what's up with that polyurethane? Why does it do that and why does it take SO DAMN LONG to actually dry? It's even called fast-drying polyurethane!
While this was happening, Steven and Mike were attempting to remove the glass from some of the cabinet doors and applying the frosted glass sheeting to see how it'd look. Unfortunately, the glass in some of those doors are actually mirrors and when you adhere frosted glass sheeting to a mirror, it just ends up looking like some weird white metal. So it became quickly apparent that we wouldn't be going that route. Instead, we'll get new pieces of non-mirror glass cut, add the frosted sheeting to those and attempt to replace the glass. Crossing my fingers everything goes smoothly with that (something we didn't get finished before they left). Meanwhile, I was sanding because seriously, THE SANDING NEVER ENDS. We still have a few cabinet and then actual doors to sand and paint. If I never have to sand or paint again, I'll be a happy girl.
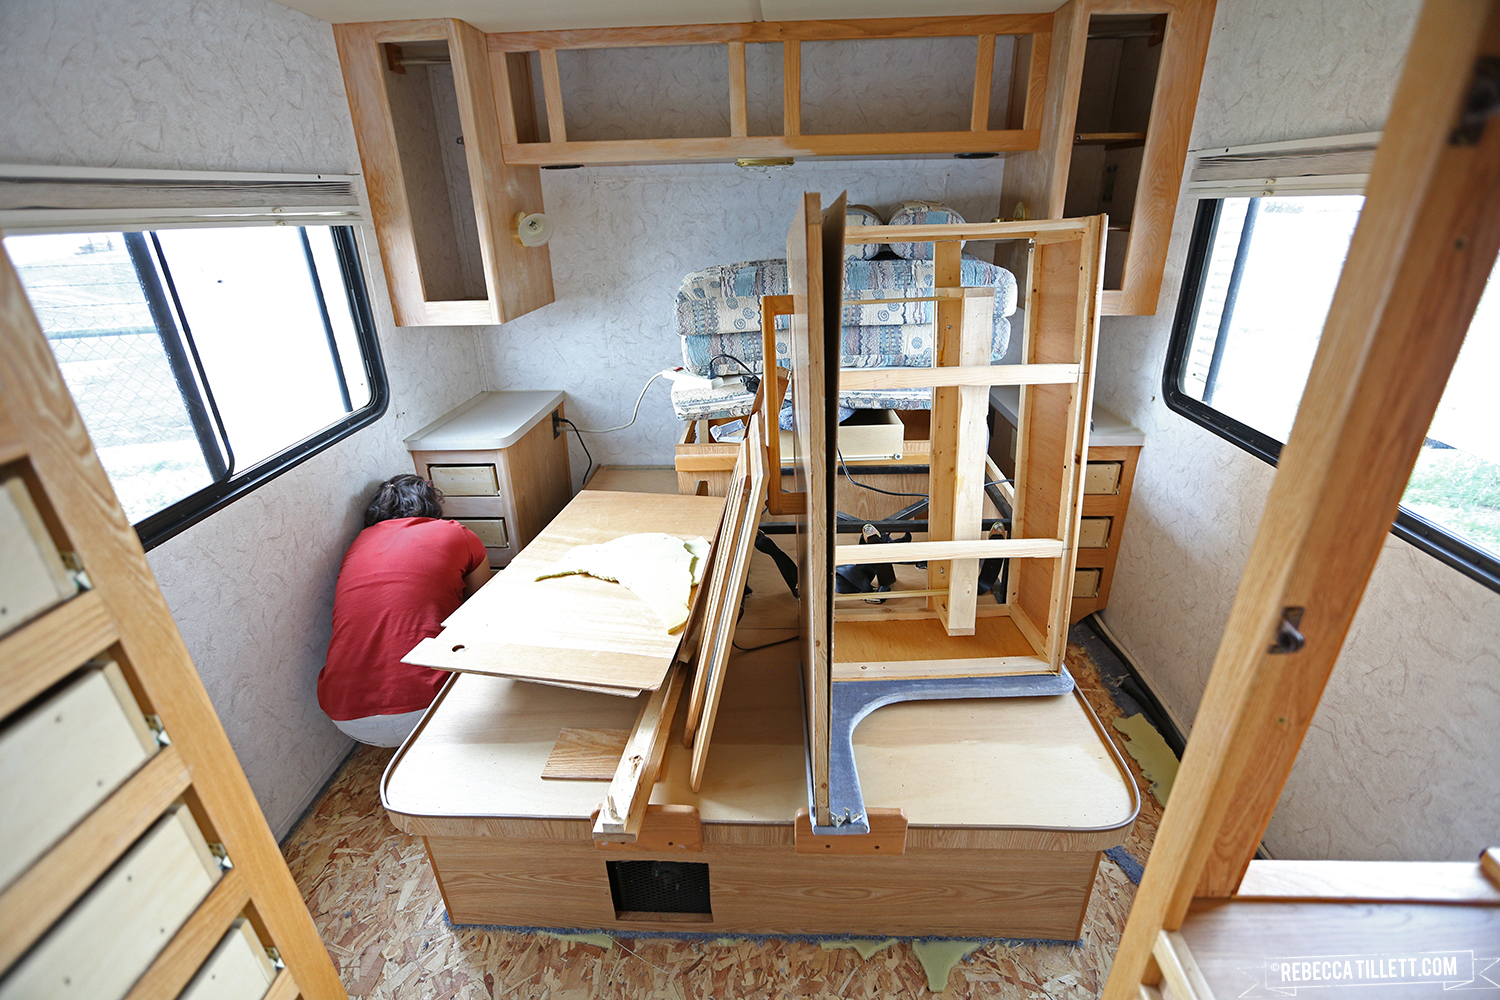
So the interior RV work began with finishing getting those damn wood-floors out. These floors were not original to the RV, we discovered, after finally removing most of it and seeing carpet at the edges that the wood flooring had covered up. I'm not sure if the Hendersons, the older couple we bought this from had this done or the original owners did this but my god, they literally glued down every millimeter of that flooring and it was absolute hell getting all of it up. This was hiccup no. 2 and it had a sufficient impact on our timeline.
Meanwhile, Chelseigh and I were sanding all the interior cabinets, wiping everything down and painting, painting, painting. The difference the white cabinets made alone was astounding.
So let's discuss the adorable wood-burning stove. We have a closet in this thing that has space for a washer/dryer combo unit and then a rather large cubby at the top, which I imagine is for laundry and cleaning supplies. We plan on getting a w/d unit for the lower half of the closet but we didn't necessarily need the upper half, and there was really no other practical place in this beast that this stove could go so we decided to cut down one part of the wall of the upper half of the closet and eliminate that cubby, and create a spot for the stove. There were a few minor pieces we still needed to purchase for this thing and we thought they could easily be found at Lowe's or Home Depot but we were shit out of luck. Fortunately, Mike and Steve found a few specialty stores in the Denver area that sold the parts we needed, but unfortunately, a couple of these places were way up north which means there was no such thing as a quick trip. They basically lost an entire morning just driving around Denver looking for and getting what we needed for the stove and the piping (hiccup no. 3), as well as the metal sheeting. Steven did the bulk of the work in installing this and framing it all out and it's absolutely beautiful. Having this will save us money in heating while also allowing us to boondock for longer stints in colder climates. (And yes, watching them cut a hole into the top of Serenica for the flue pipe was unnerving!)
BREAK TIME
These were taken after Chelseigh and I had finally finished painting everything except the insides of the cabinets. We hadn't originally planned on painting the insides but after getting everything else painted, we realized we hated that the old wallpaper and wood could be seen whenever the cabinet doors were opened so the next day, we finished painting EVERYTHING, because honestly, I really don't wanna see that ugly mid-90s RV wallpaper again.
Let's not forget the cat-hole! For a second time, I got to watch as a rather sizeable hole was cut into Serenica, this time a hole into one of our basement compartments for our kitties. The hole will reside underneath one of our booth seats and will allow them to access their litterbox in the basement so it's not something we have to keep on board (and thus unhappily smell constantly). Steven built a tiny 2-step staircase for them to easily get down and back up again, and bonus: we can store the cat litter and supplies under the little stairs!
Finally, let's see the progress we've made and just where we're at with this now...
As a side note, we briefly discussed the possibility of discarding the booths in favor of a custom-made bar with barstools (seen in my not-so-good drawing below) and a small mini-bar that could swing out from the main bar so that Mike and I could face each other when we eat, should we feel so inclined. I loved the idea of the bar because it would have made the kitchen and eating area feel so much larger than it is but ultimately, we've decided to stick with the booth for now as it makes the most sense for us currently (and is much cheaper and less labor-intensive, let's not forget)!
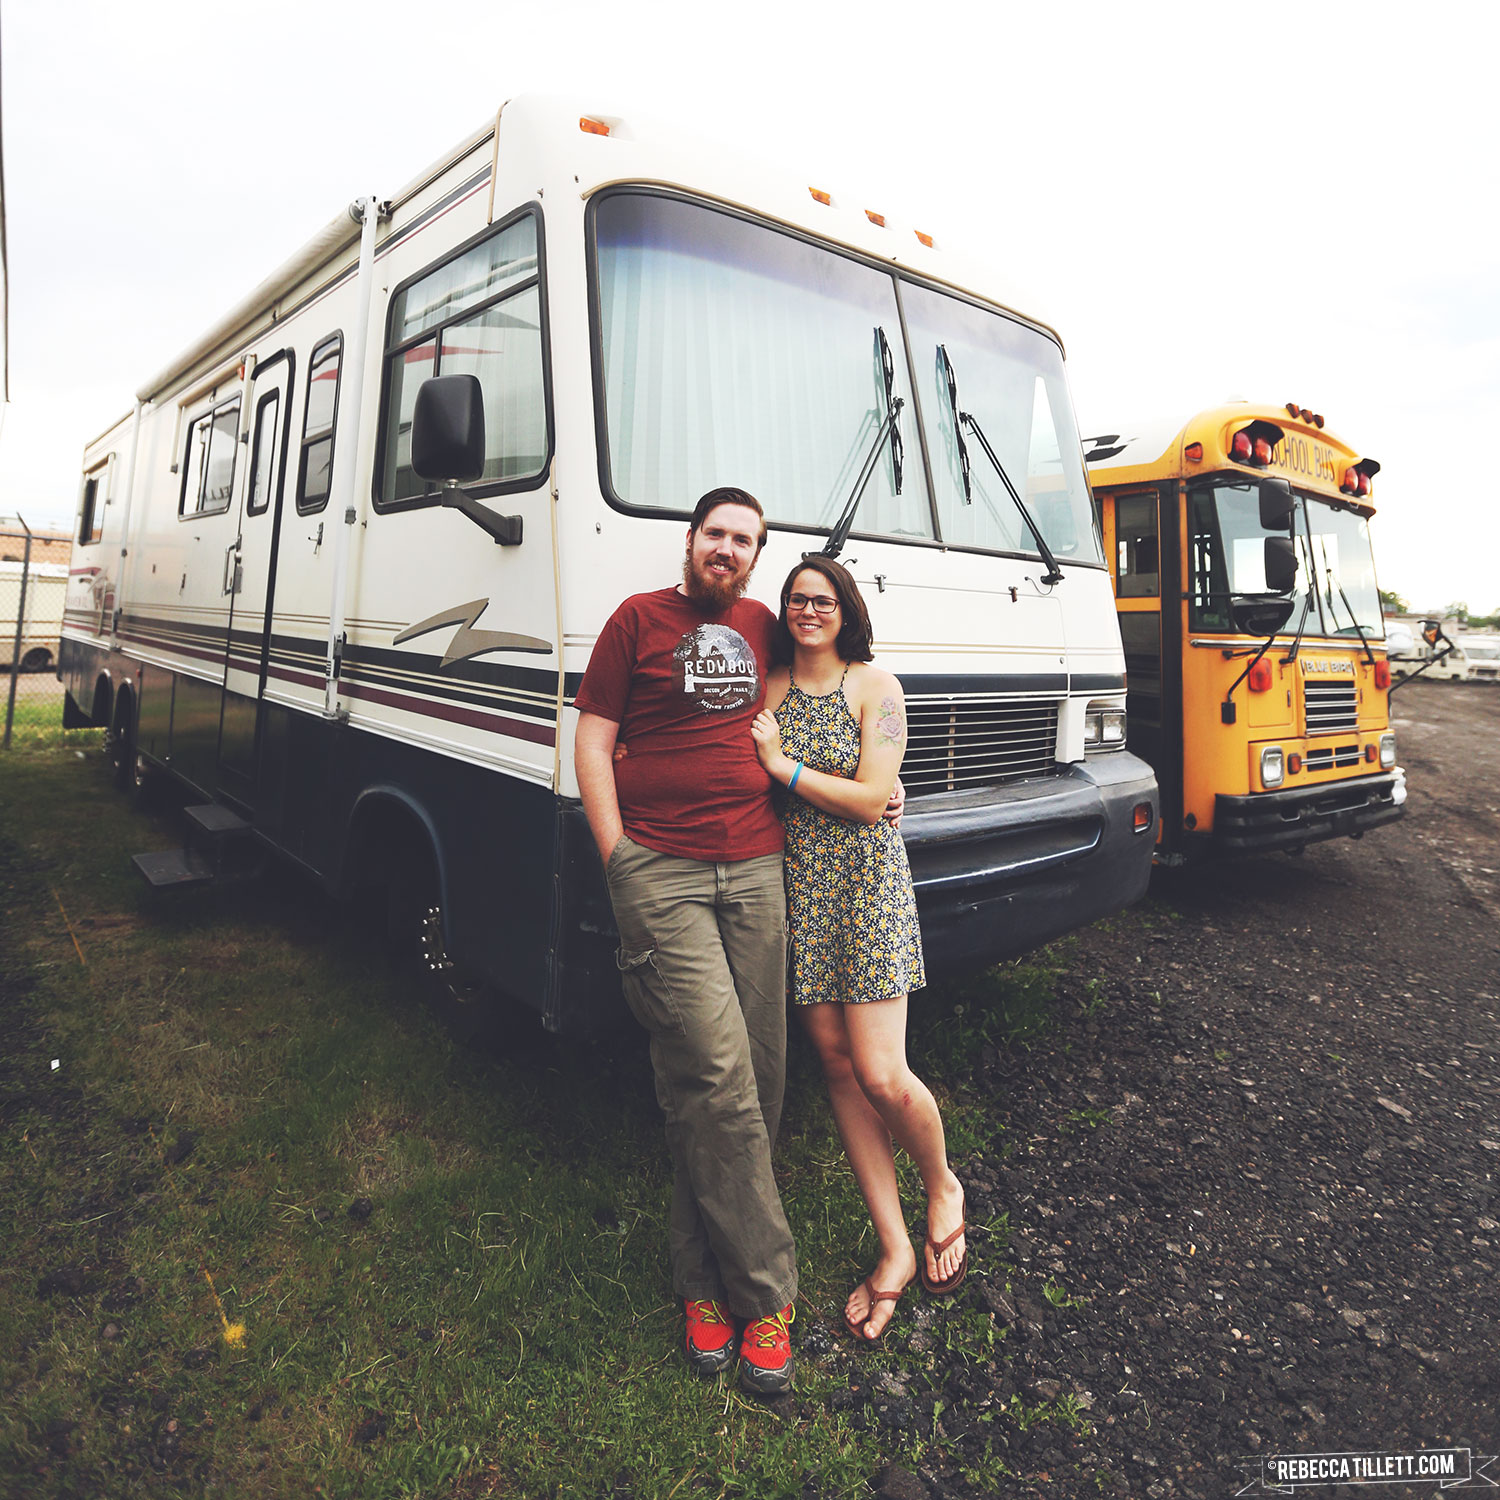
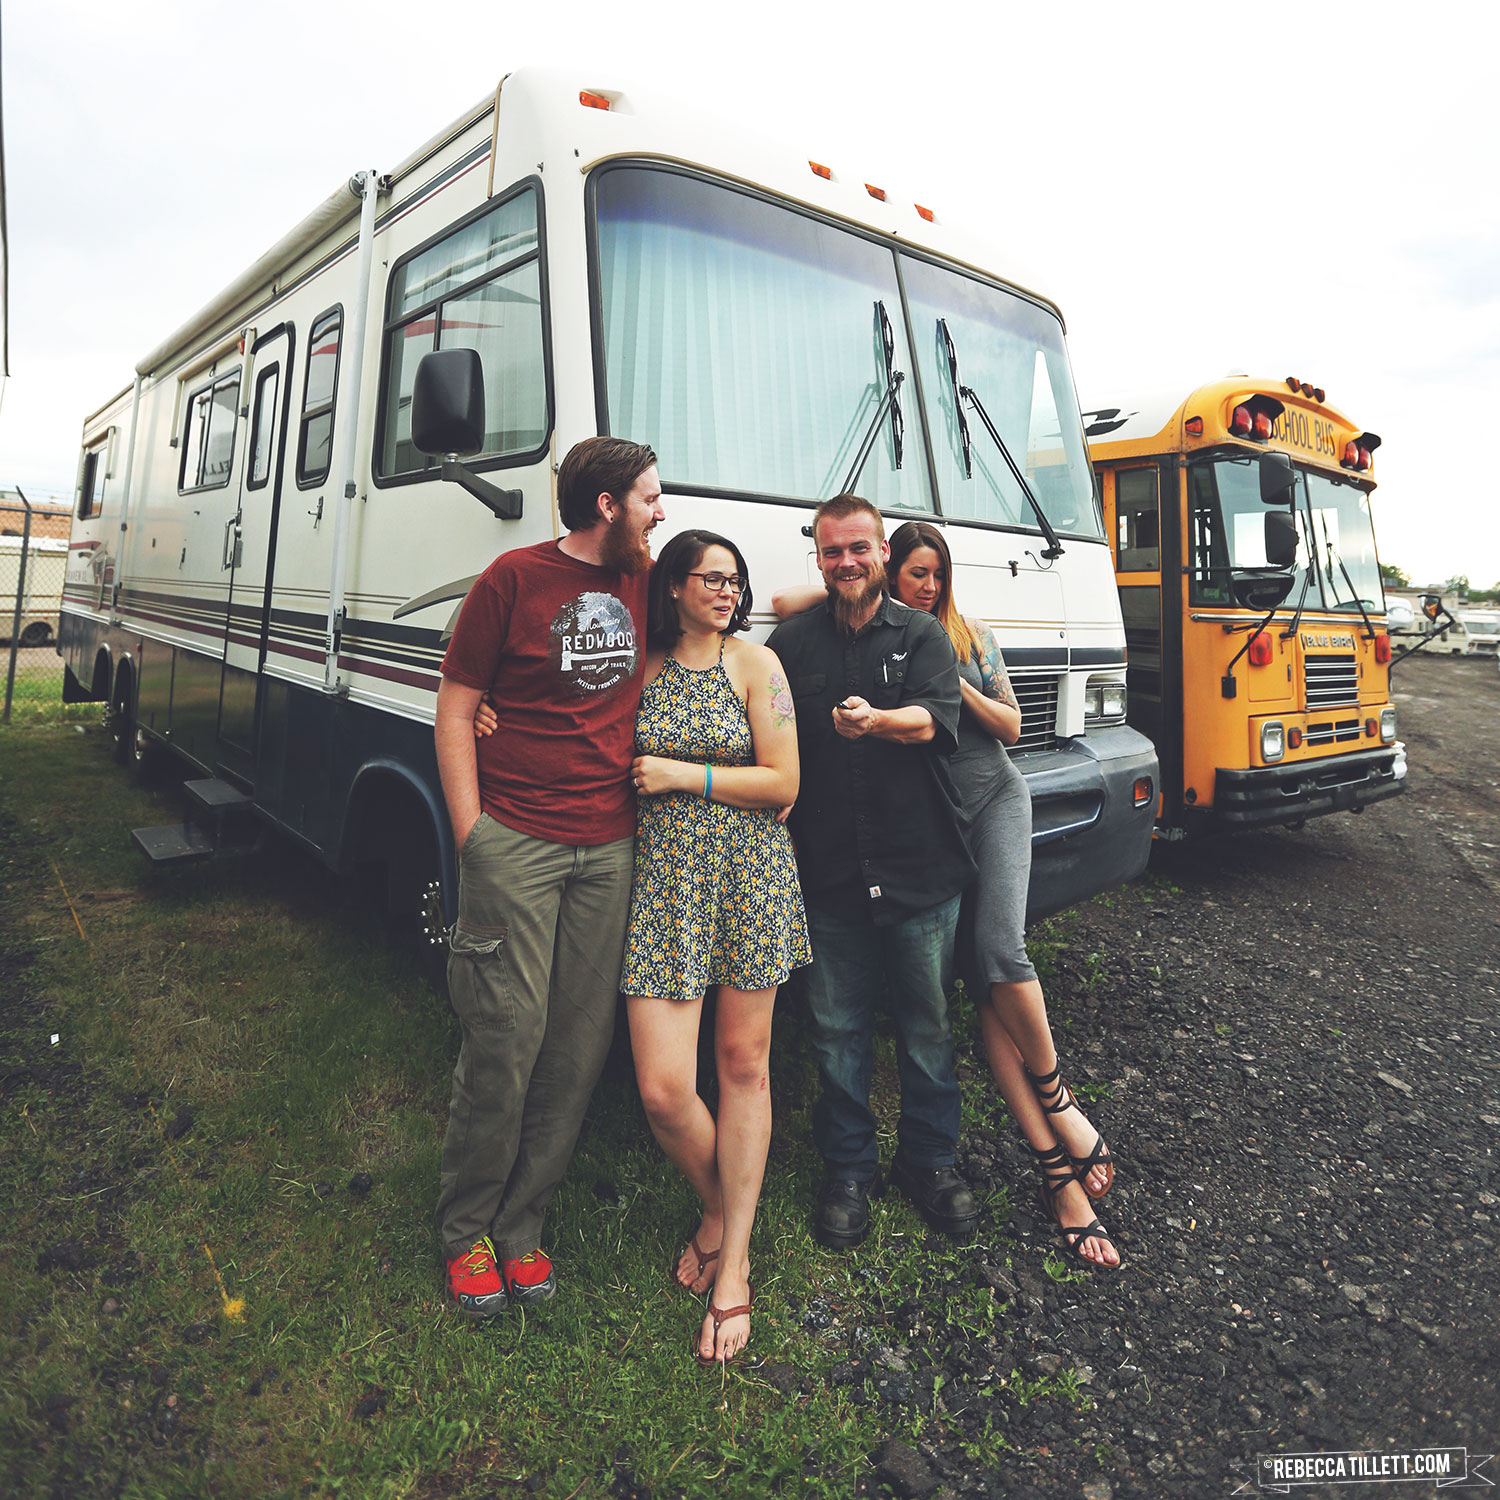
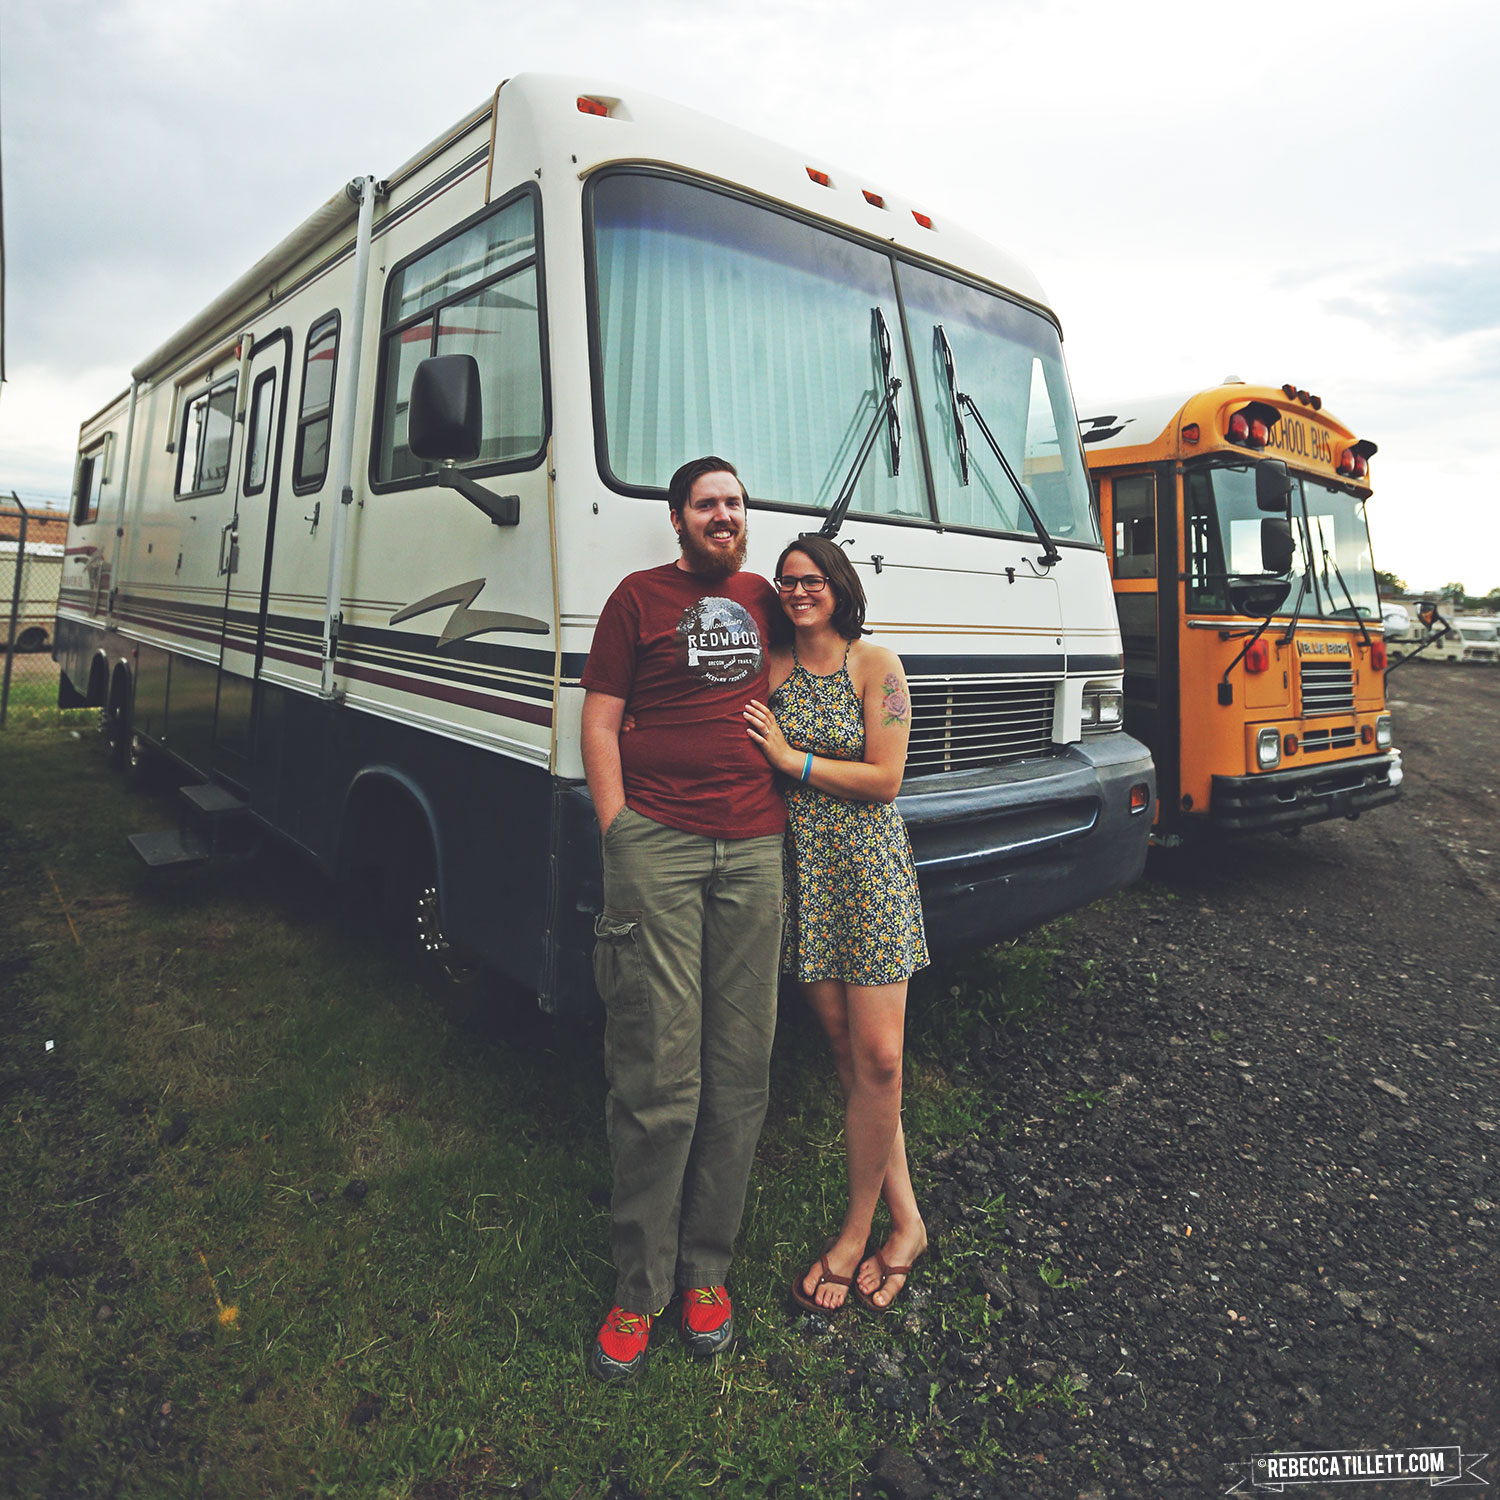
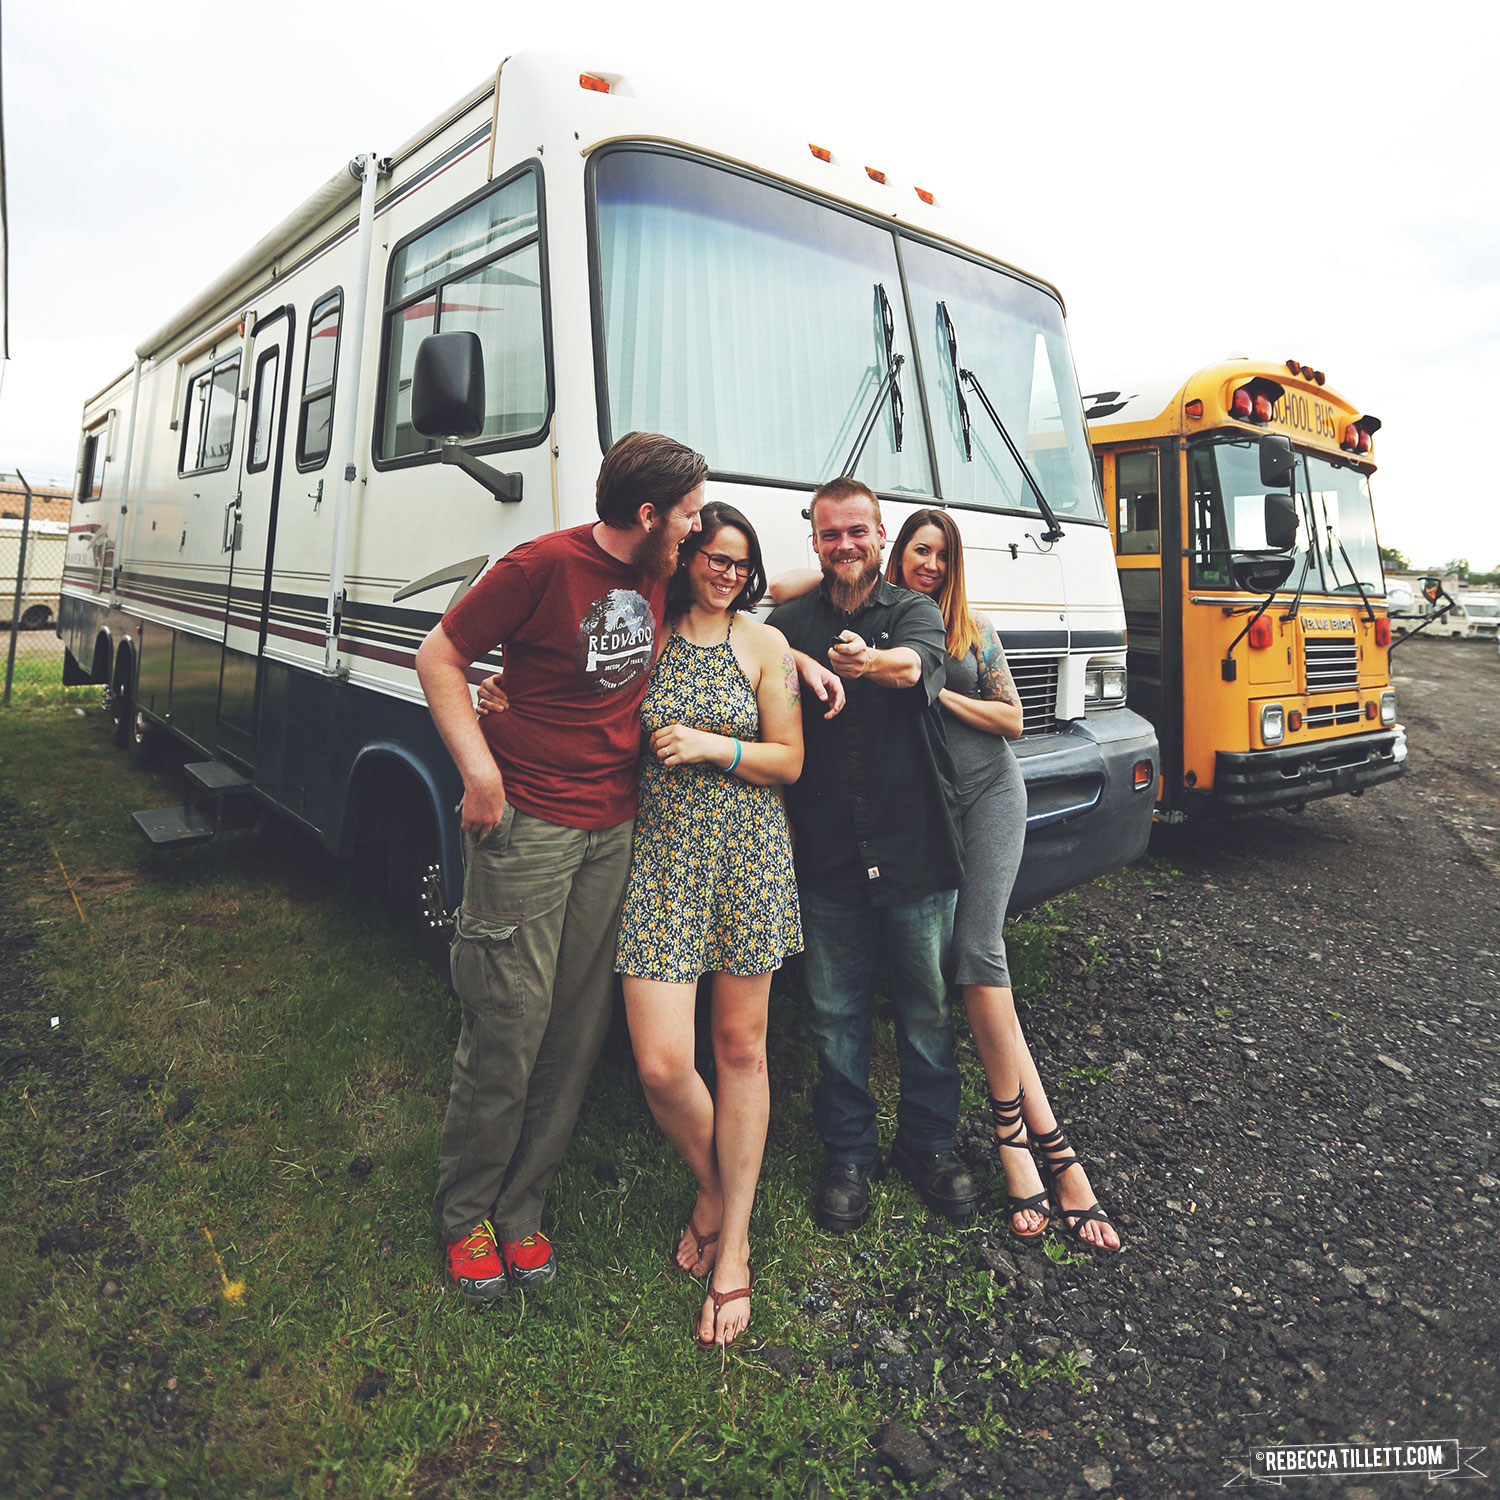
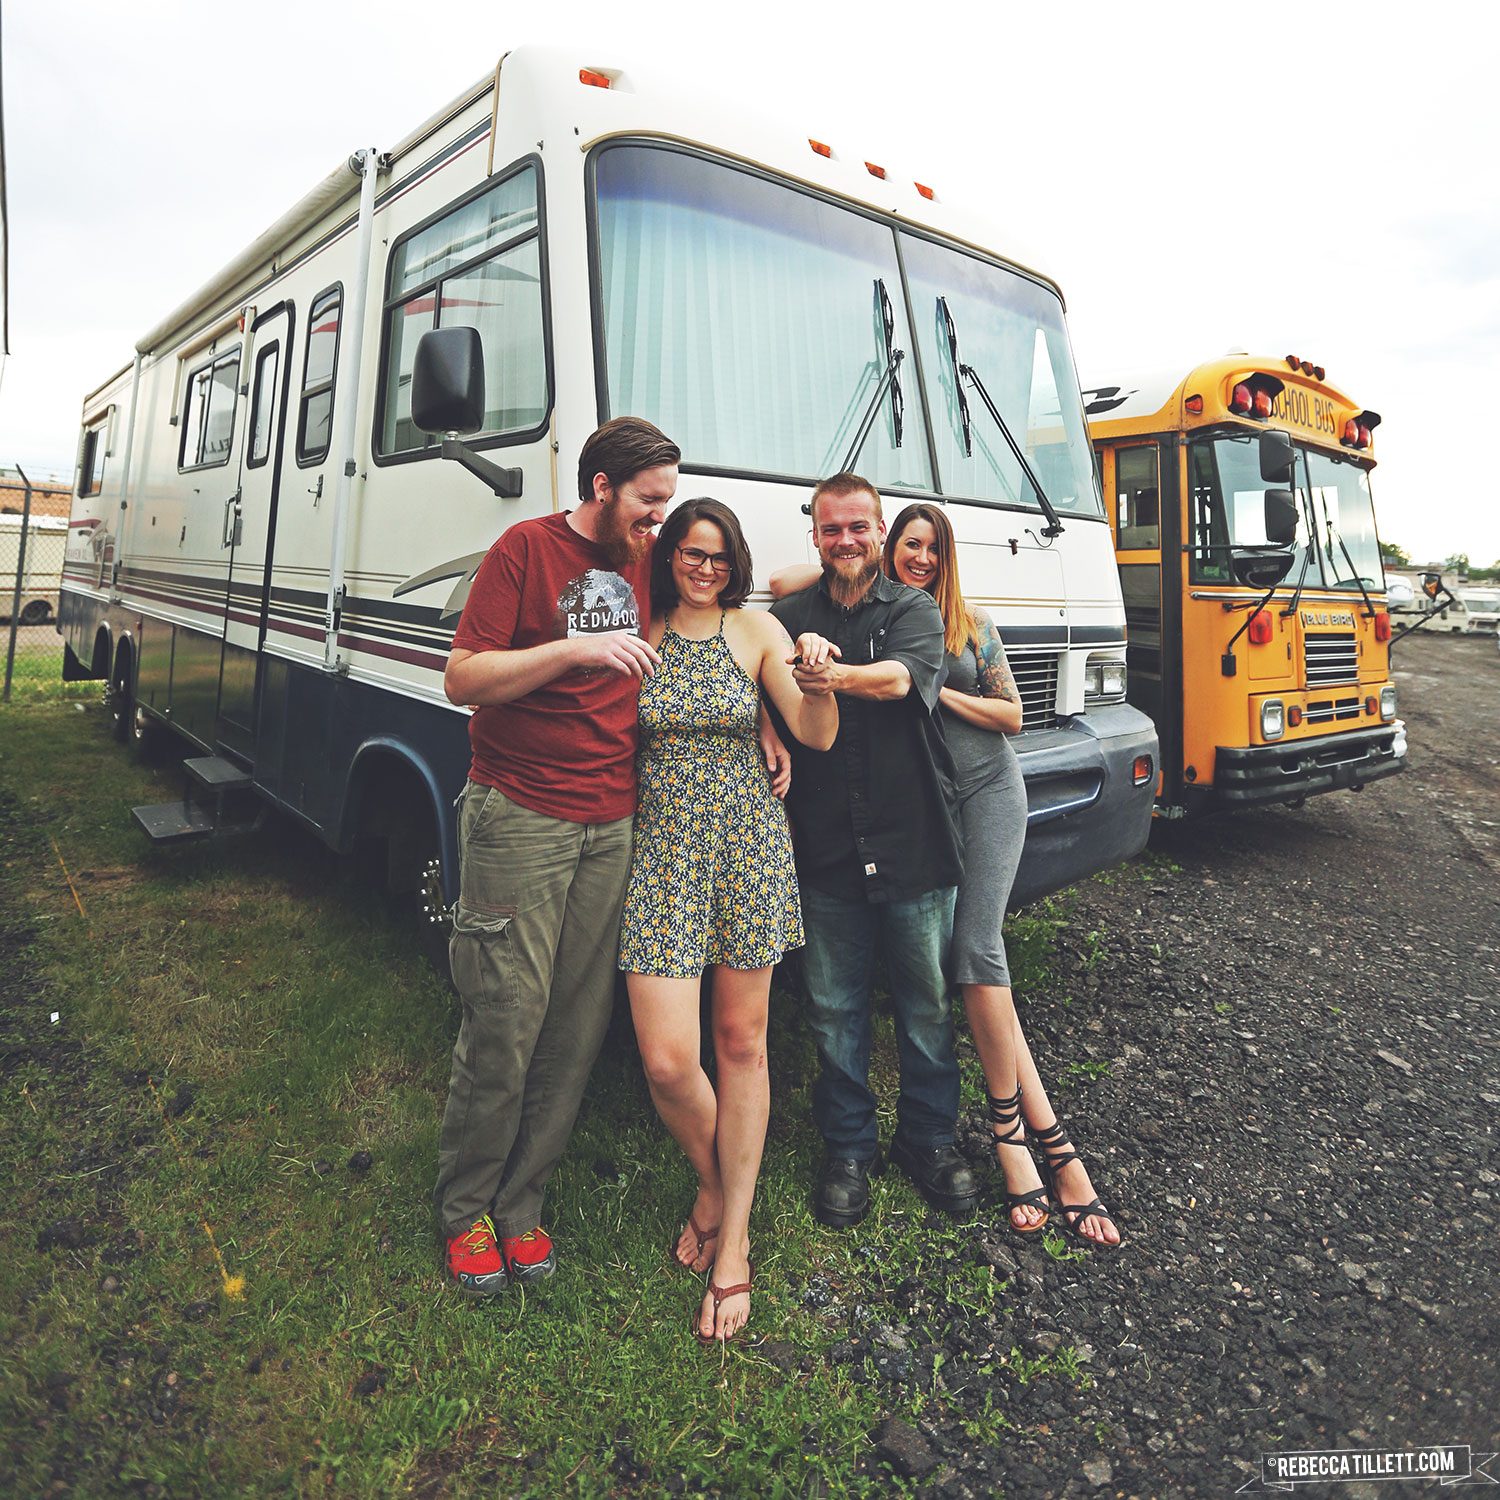
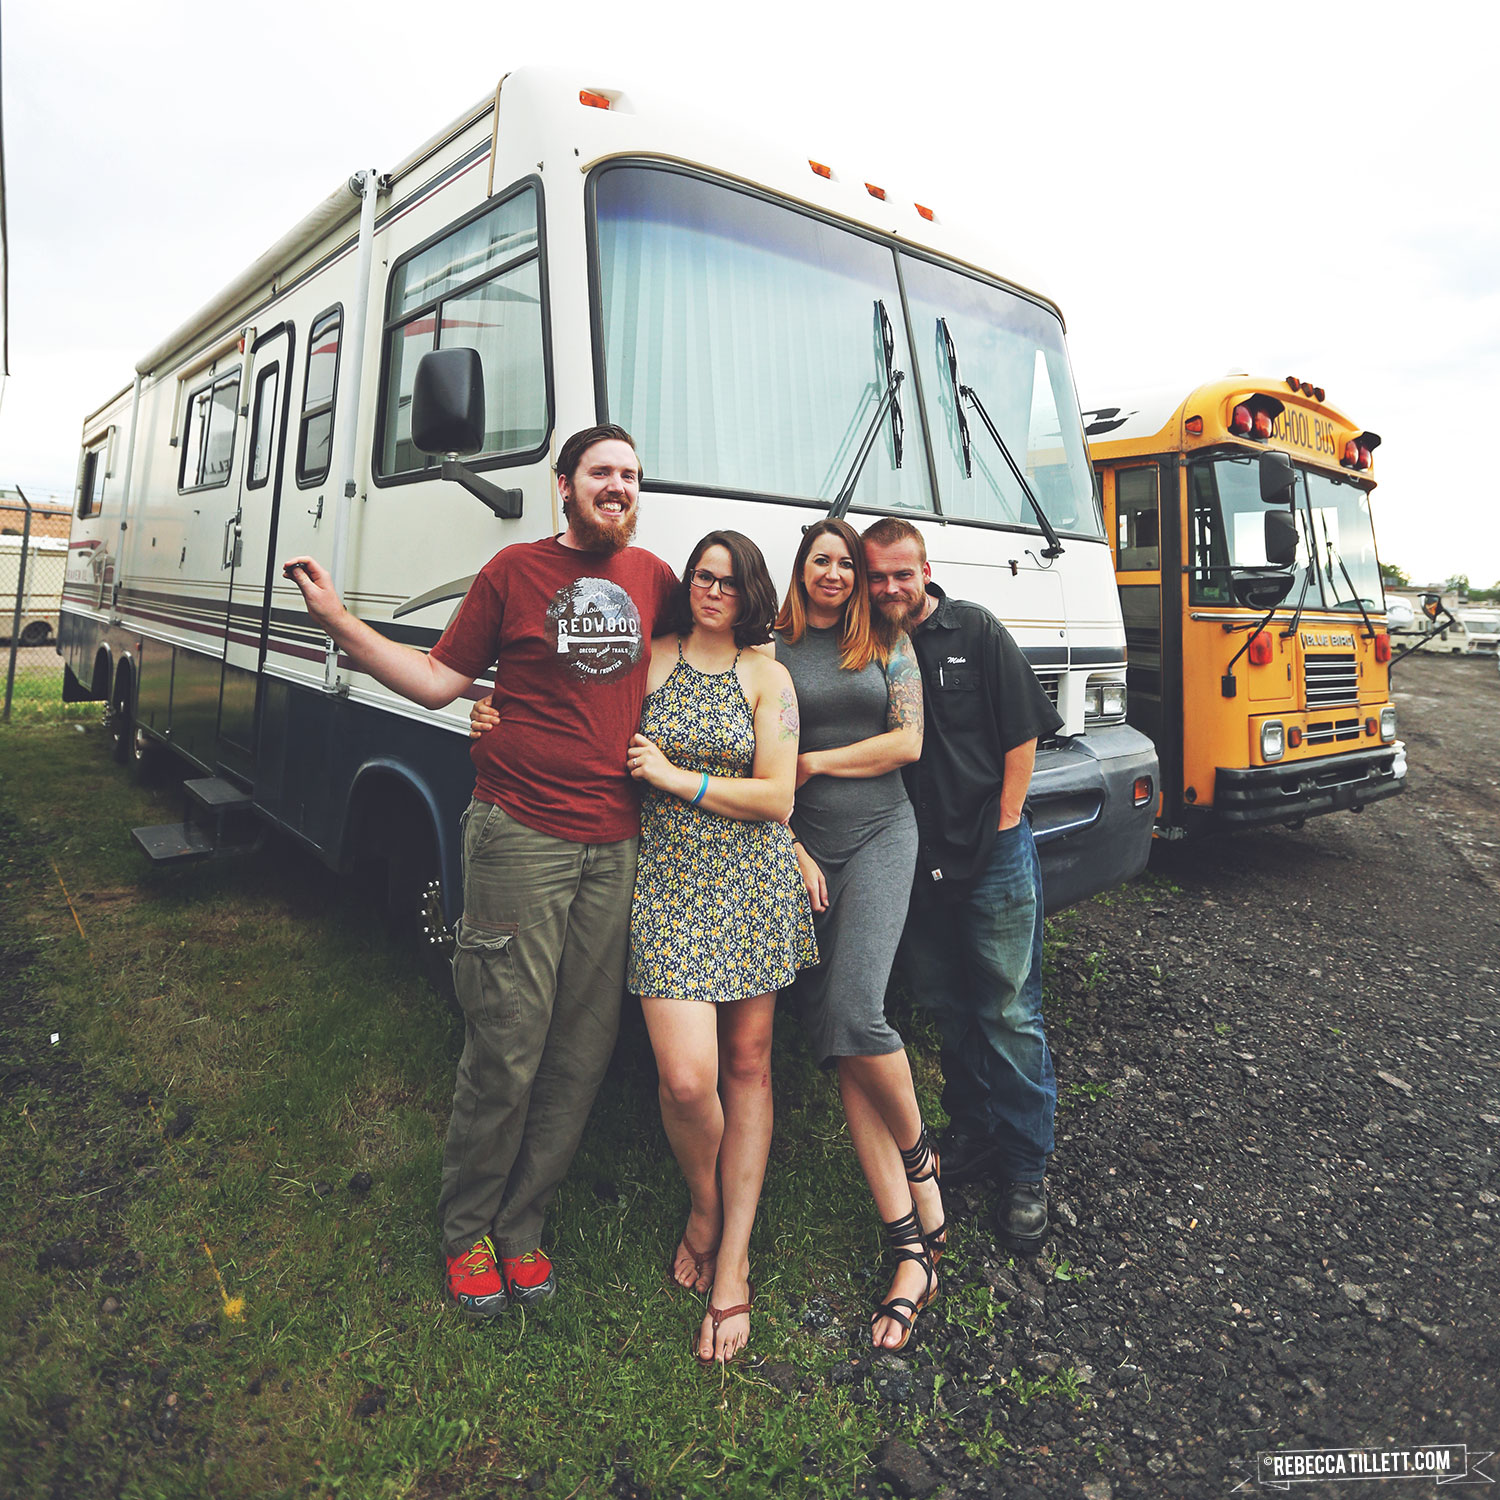
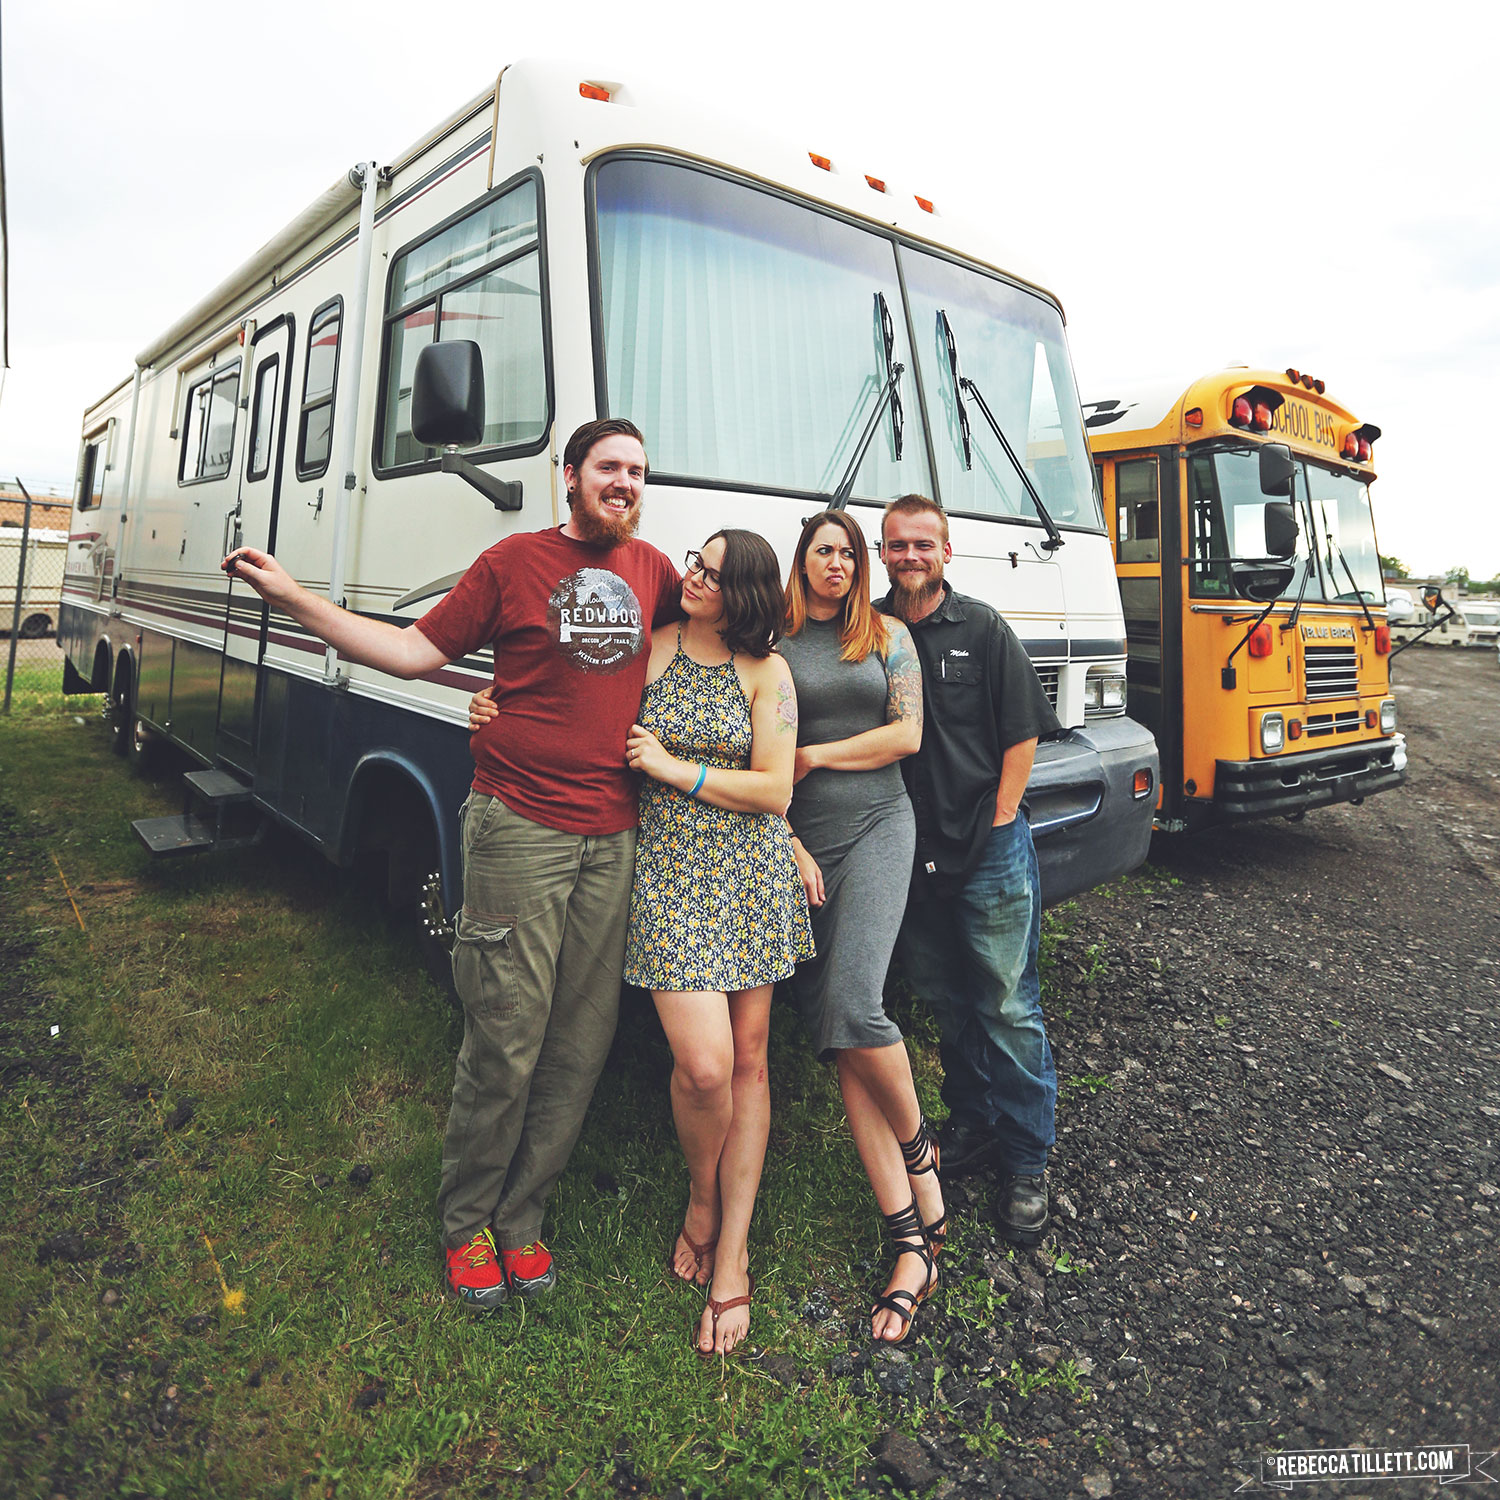
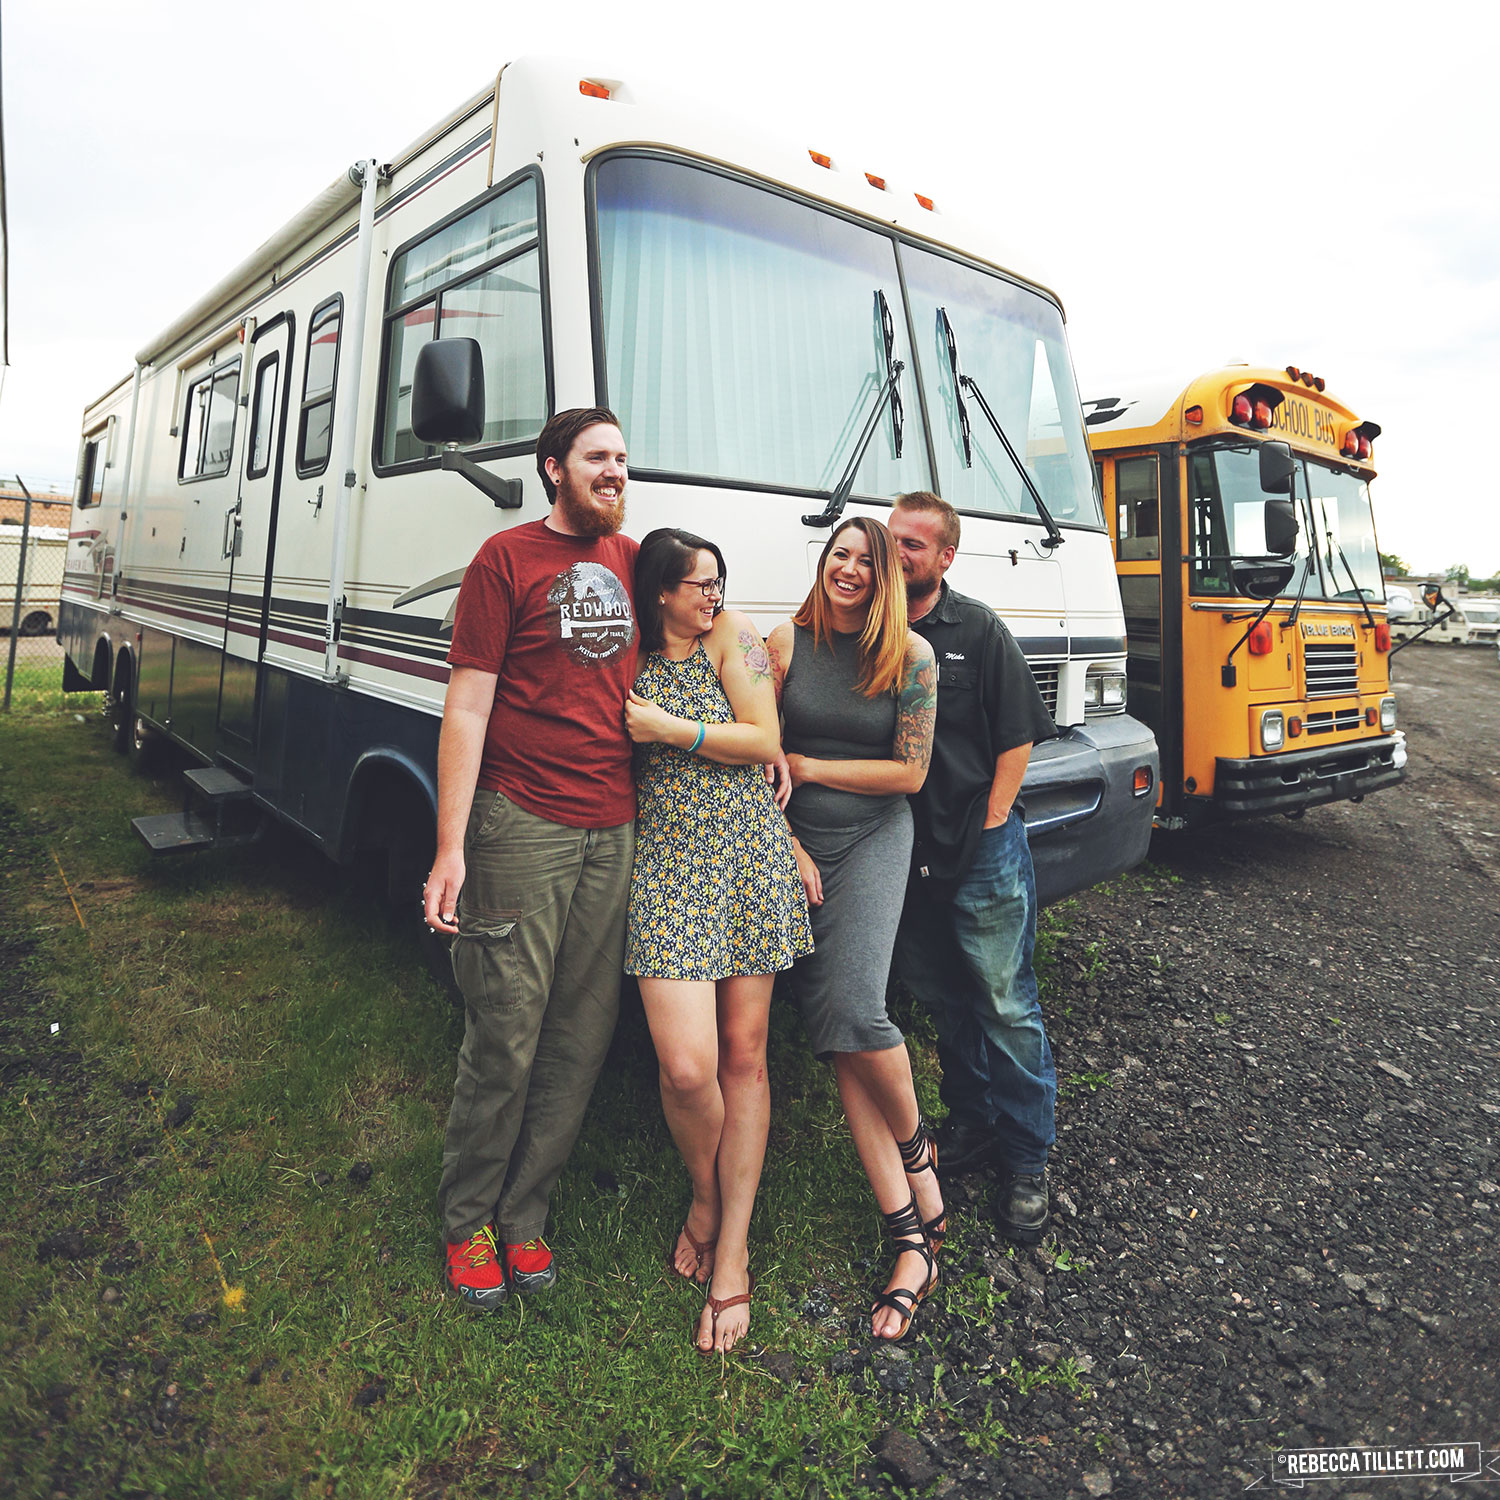
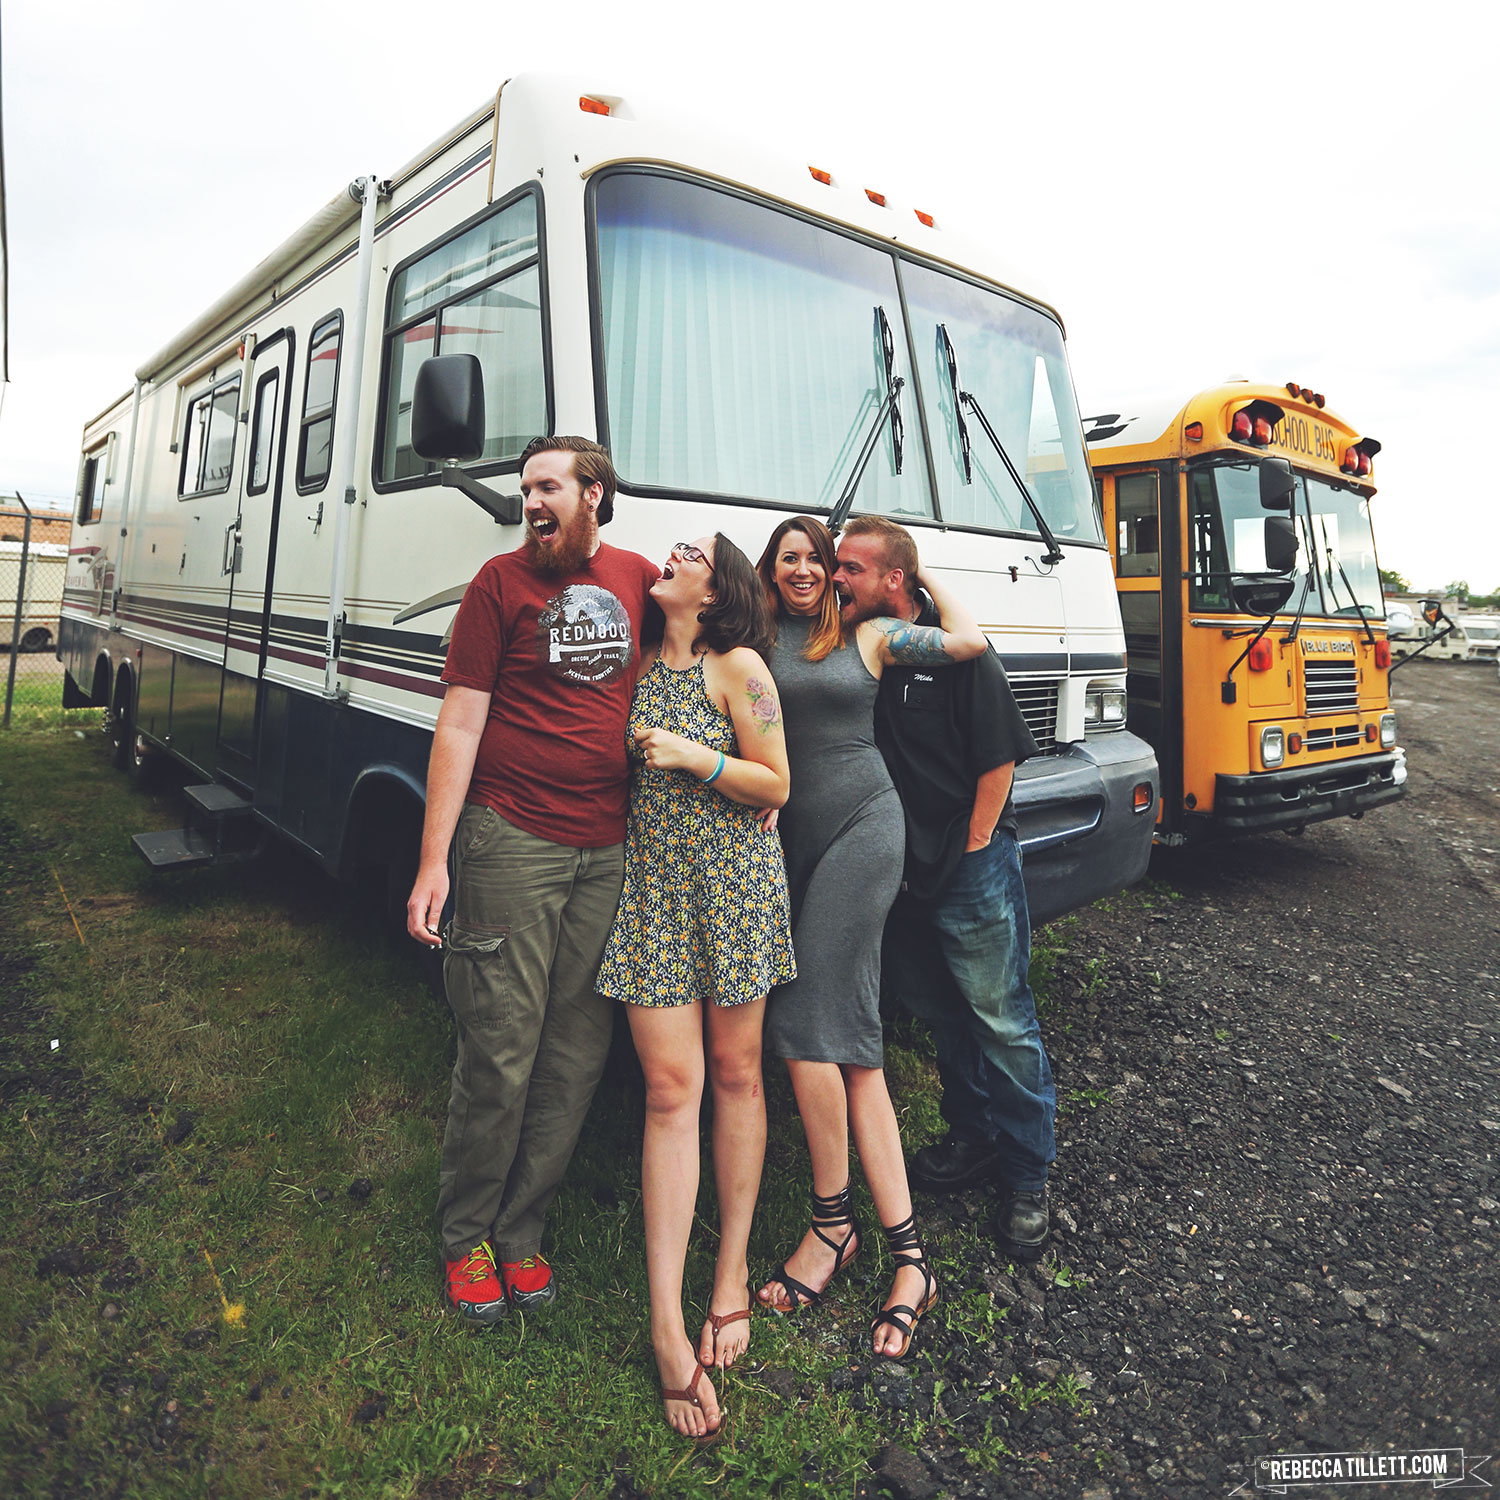
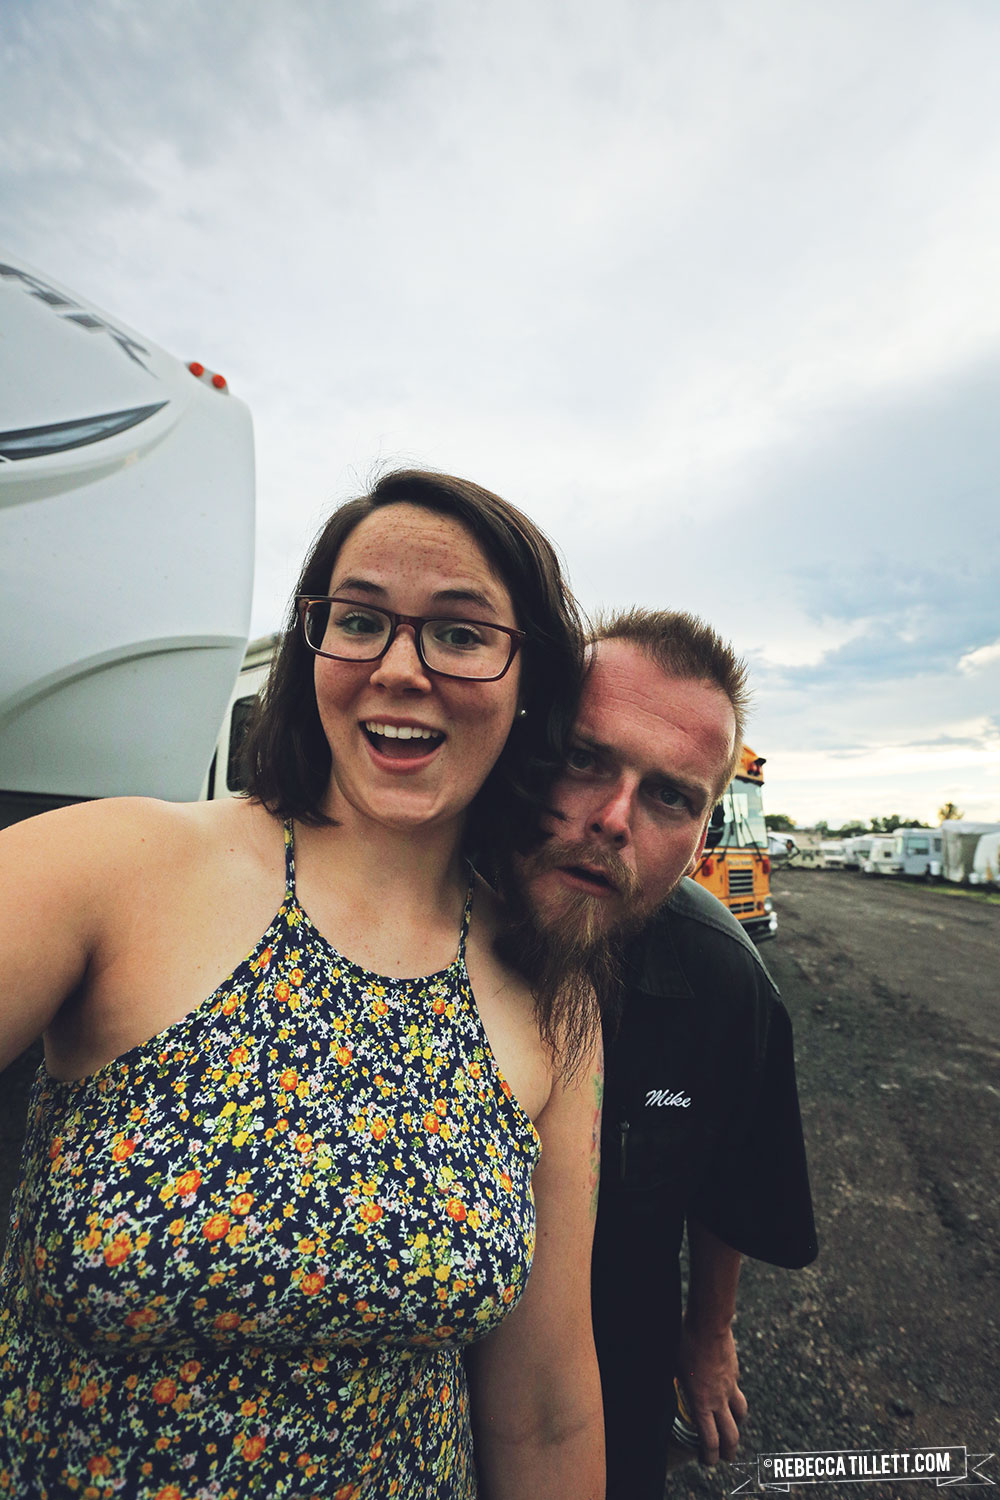
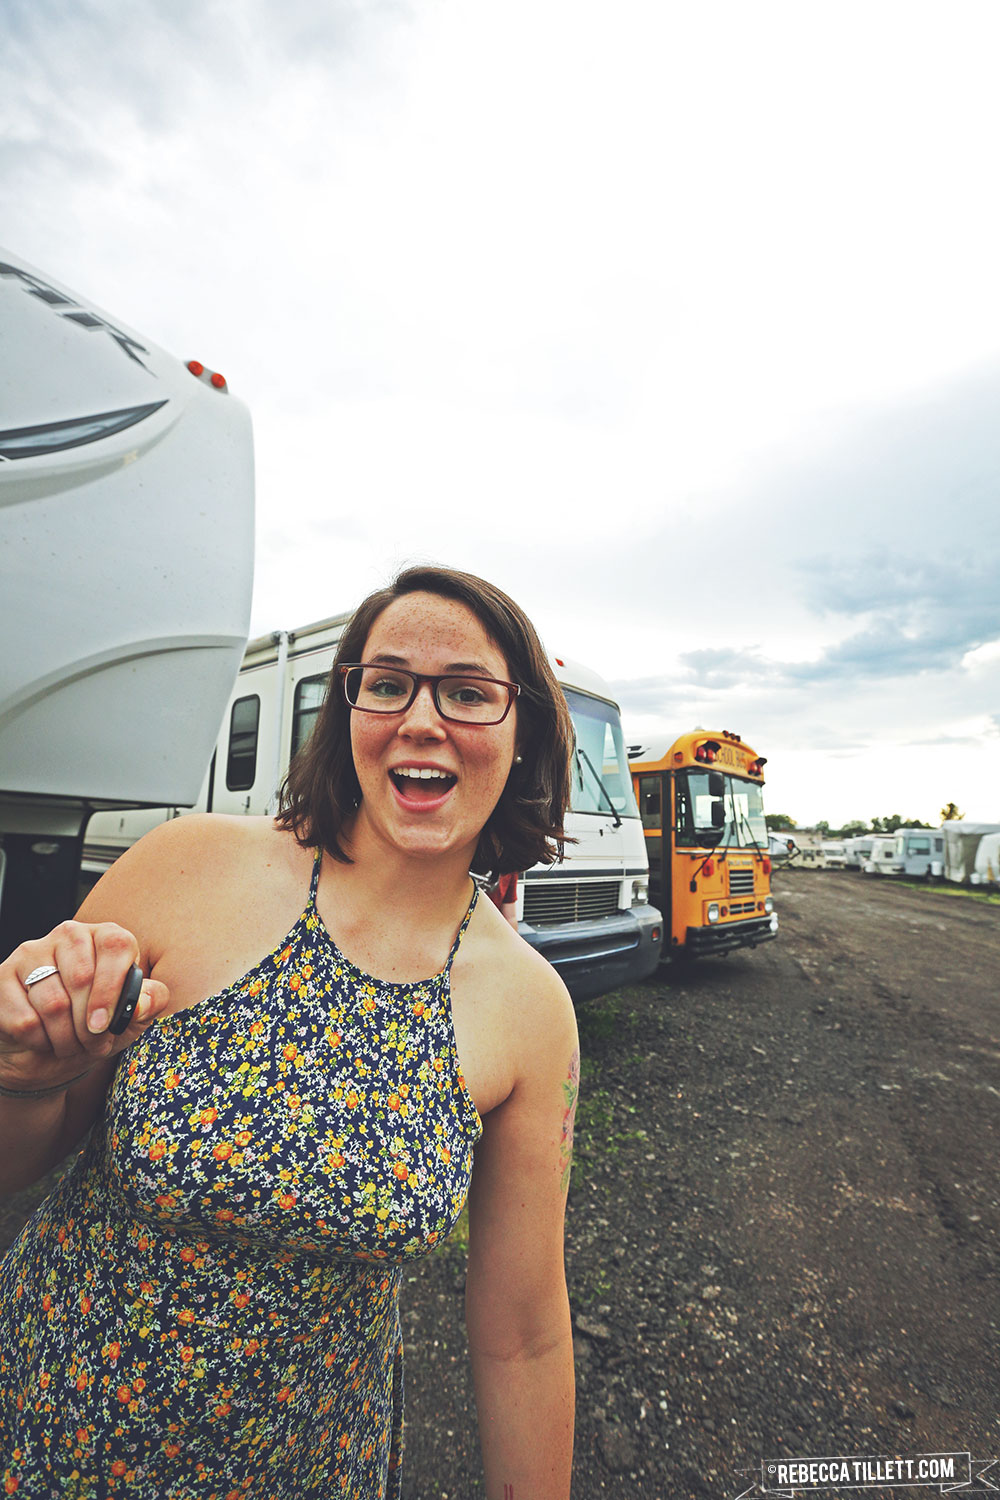
To wrap up, I wanted a group shot of us all before they left, to frame and hang in Serenica because we all put blood, sweat, and tears into this thing (seriously, we all injured ourselves on multiple occasions, we worked our asses off so certainly no lack of sweat, and I actually broke down into tears in frustration at one point during the process) but we didn't get a chance to do it until their very last evening here. On our way to dinner before dropping them at the airport for the red-eye flight Wednesday night, we quickly stopped by the RV lot for a quick photoshoot. I'll never forget this crazy last few weeks and these glorious people I love so much who helped to make it happen.
Here's what's left on our to-do list:
Cut down closet door
Replace glass in cabinet doors
Install perforated metal accents
Finish sanding
Finish painting
Touch-up painting on walls
Install hardware on doors
Install cabinet and non-cabinet doors
Add trim throughout
Build and install desk
Install booths and sofa-bed
Replace kitchen counter
Replace booth table
Install backsplash
Replace bathroom vanity counter and sink
Replace bathroom mirror
Replace bathroom lighting
Replace under-cabinet lighting
Replace bedroom lighting
Replace window shades
Get cushions reupholstered
Buy and install w/d combo unit
Buy and install solar panel system
Past RV posts:
https://beckytillett.com/blog/serenica-demolition


